A broken garage door spring can bring your daily routine to a screeching halt. It’s a common issue that requires prompt attention and repair to restore the functionality of your garage door. In this blog post, we’ll guide you through repairing a broken garage door spring, ensuring you can tackle this task safely and efficiently. By following these steps, you can save time and money by avoiding the need for professional assistance.
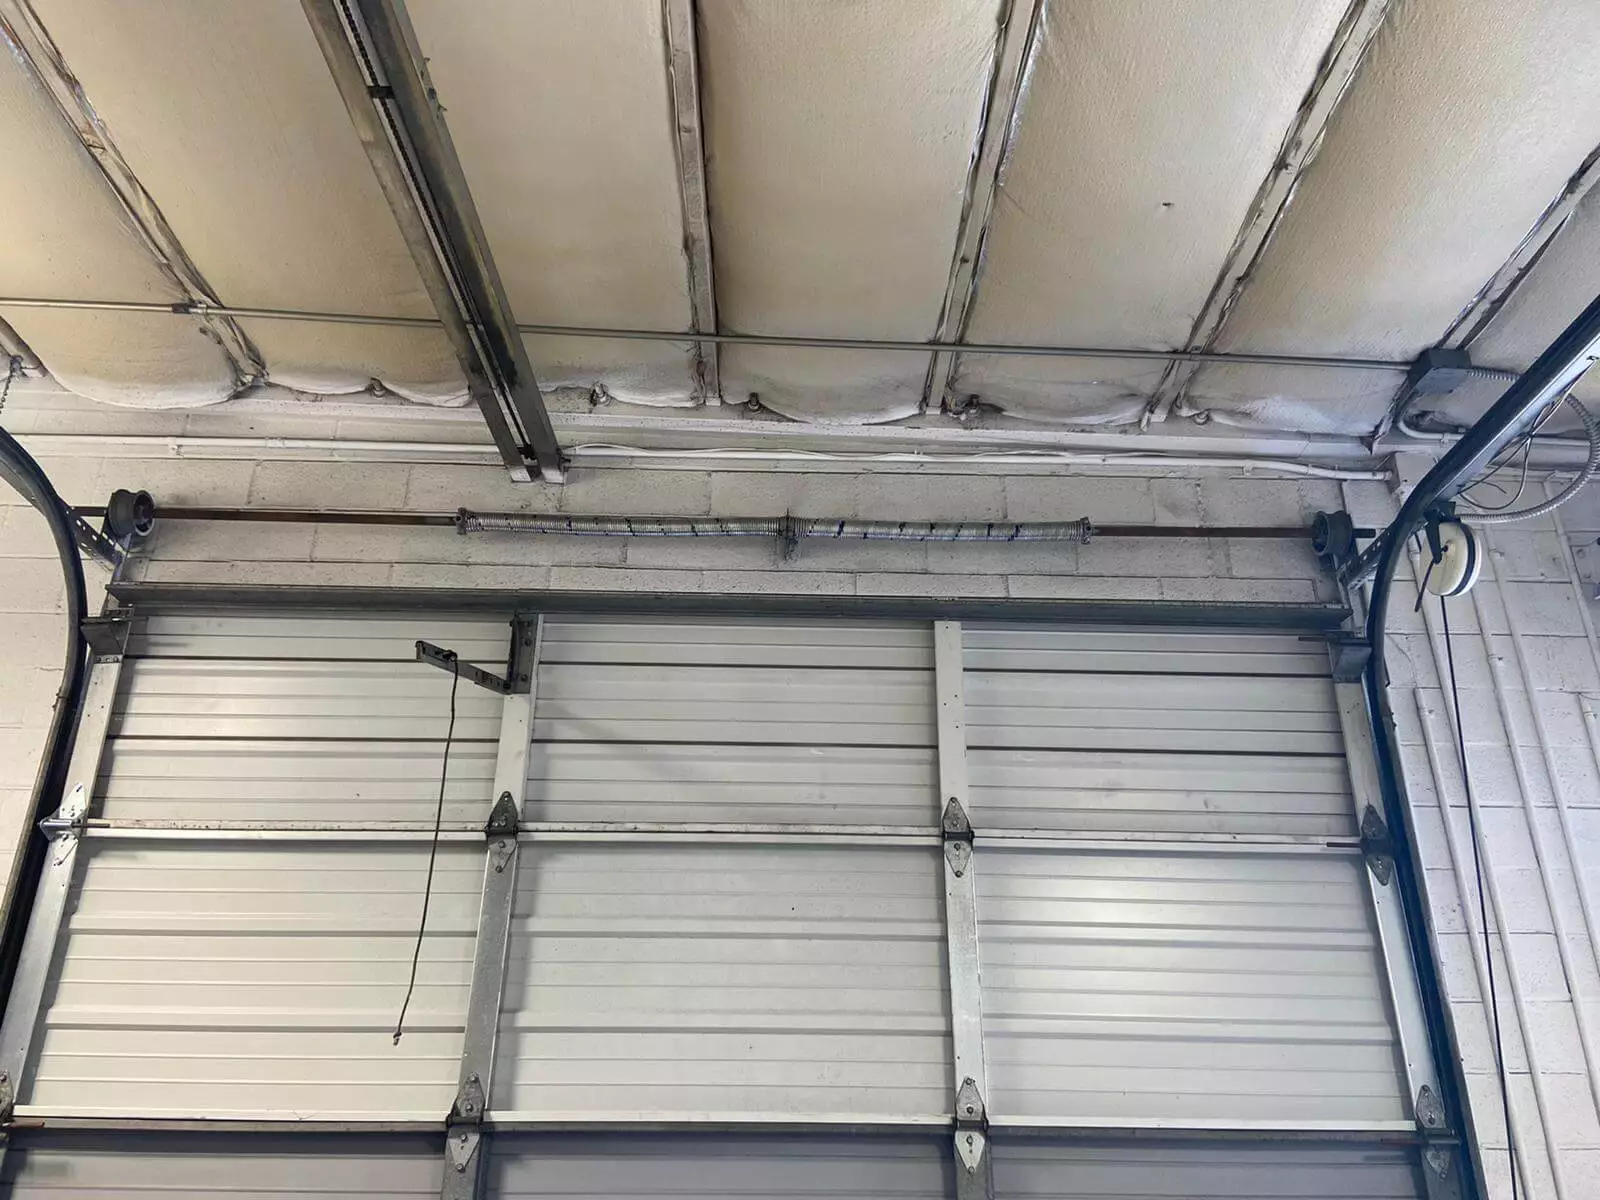
Understanding the Types of Garage Door Springs
Before diving into the repair process, it’s essential to understand the two primary types of garage door springs: torsion springs and extension springs.
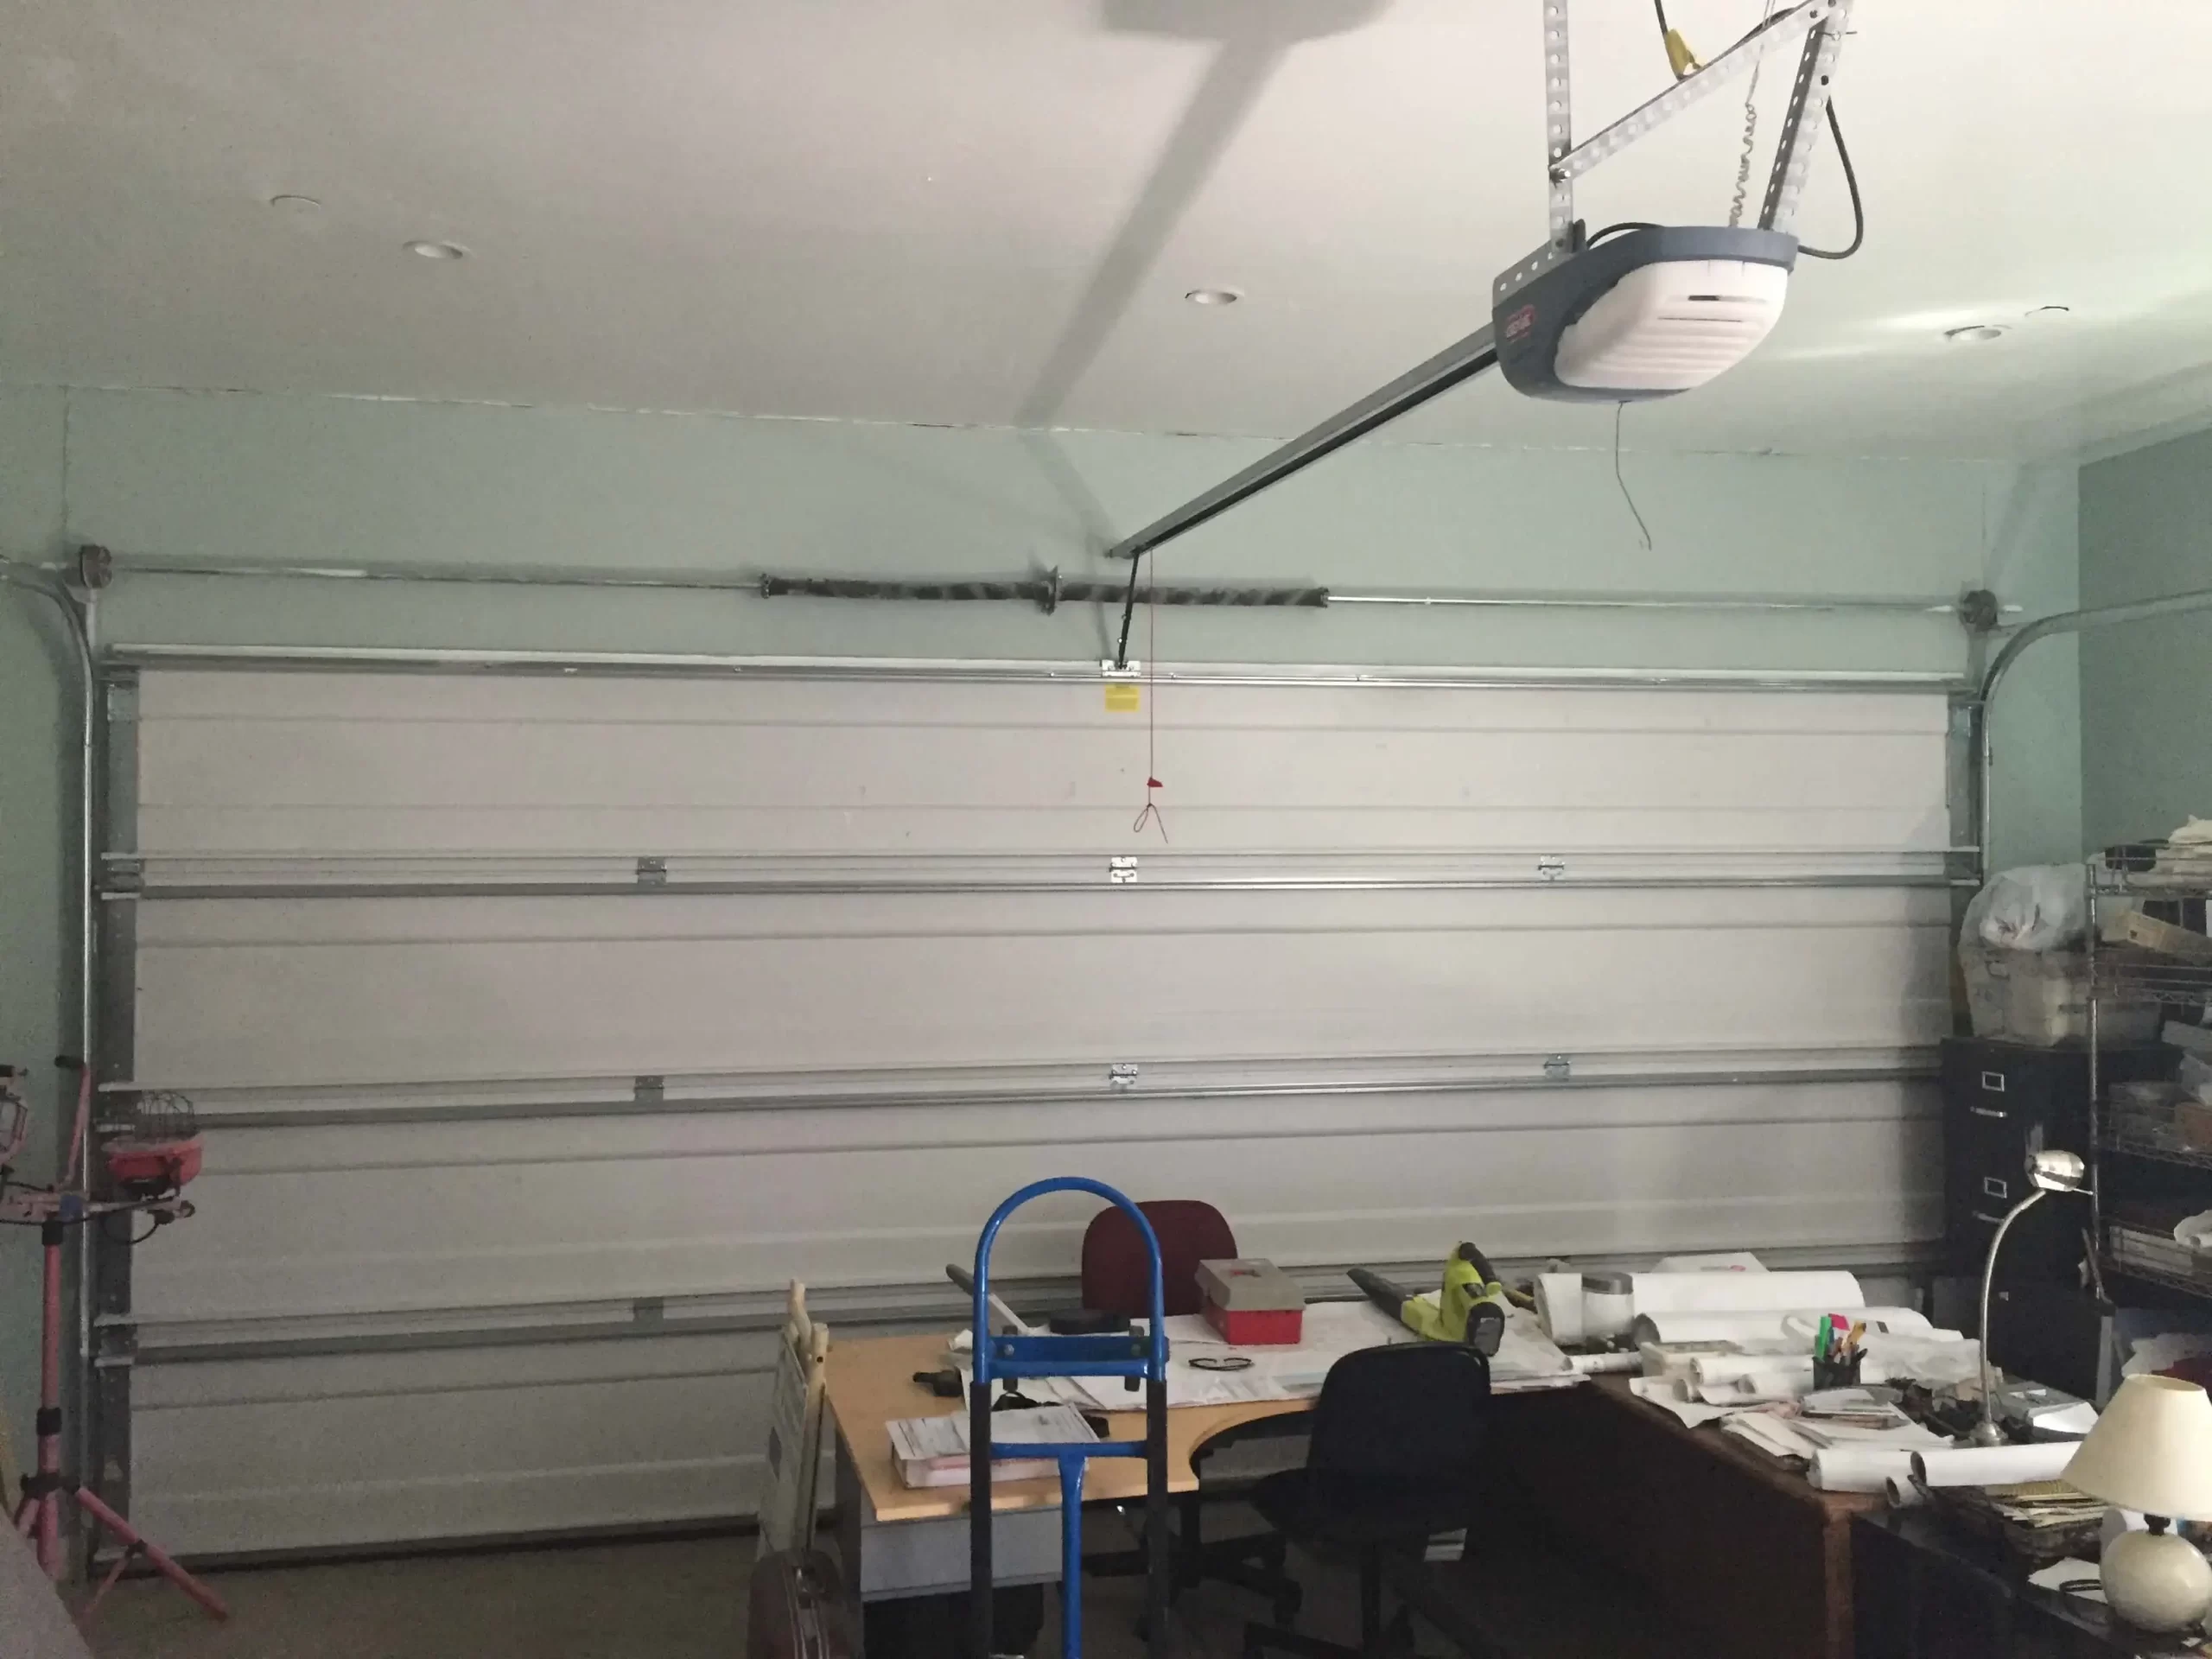
Torsion Springs: Found above the garage door, torsion springs twist and store mechanical energy to assist in lifting and lowering the door. They come in various sizes and are typically used for heavier garage doors.
Extension Springs: Located on either side of the garage door, extension springs expand and contract to provide the necessary force for opening and closing. They are commonly used in lighter garage doors.
Safety First: Precautions and Equipment
Repairing a broken garage door spring can be dangerous, so it’s crucial to take proper safety precautions and have the necessary tools before starting the repair process.
Safety Precautions:
- Disconnect the garage door opener from the power source.
- Secure the door in a fully open position using clamps or locking pliers.
- Wear safety goggles, gloves, and protective clothing to prevent injuries.
Required Tools:
- C-clamps or locking pliers
- Winding bars or winding tools
- Socket wrench
- Safety ladder
- Measuring tape
- Replacement garage door spring (matching the type and size)
Repair Steps for a Broken Garage Door Spring:
Release Tension: Using the winding bars or winding tools, carefully release the tension from the broken spring by turning it in the opposite direction of the winding.
Remove Broken Spring: Once the tension is released, detach the broken spring from its mounting brackets or center cone, depending on the spring type.
Measure and Purchase Replacement: Measure the length and diameter of the broken spring to ensure you purchase a replacement of the same size and type. It’s crucial to use the correct spring specifications for safe and effective operation.
Install New Spring: Attach the new spring to the mounting brackets or center cone using the appropriate tools. Ensure the spring is properly secured and aligned.
Wind the Spring: Gradually wind the new spring using the winding bars or winding tools, following the manufacturer’s instructions. Take extra care during this step, as the spring will store tension.
Test the Door: Once the spring is properly wound, remove the clamps or locking pliers and test the garage door’s functionality. Ensure it opens and closes smoothly without any issues.
Final Thoughts
Repairing a broken garage door spring requires caution, the right tools, and careful execution. You can successfully restore your garage door’s functionality by understanding the types of springs, taking necessary safety precautions, and following the step-by-step repair process.
However, if you’re uncomfortable or uncertain about performing the repair yourself, it’s best to seek professional assistance. Our team of experts is ready to provide efficient and safe service for reliable garage door spring repair in the Franklin area.
Social Links: Tumblr, Soundcloud, Ivoox, Podomatic, Flokii

